Adding a Location
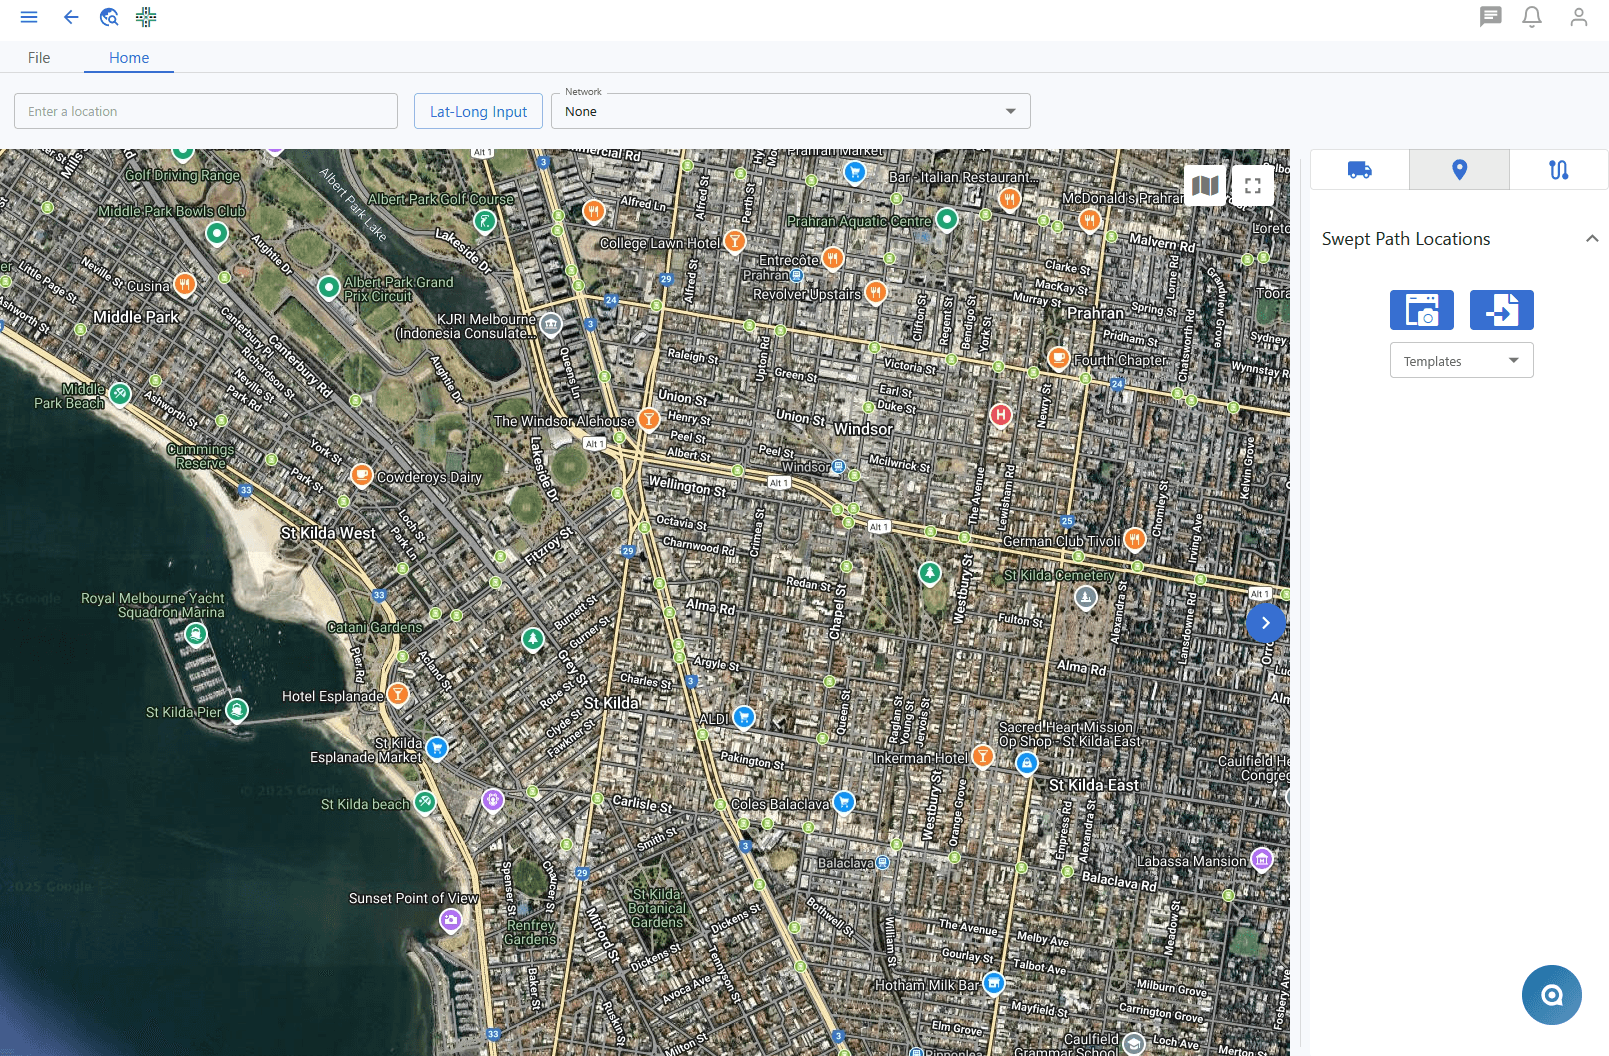
On the mapping screen there is a toolbar at the top.
You can move to a location by inputting an address or if you have the lat and long, you can input that as well.
Map Layers
In the top right of the map you can change map layers. Nearmaps is the only map layer that has a limit as it is quite expensive. So be wary when using it. The ideal usage would be to use Google Maps to position where you want to, then swapping to Nearmaps to get the image. Panning with Nearmaps will use up your data easily.
You can input your own Nearmaps API key in Company Settings for your company to use and you won't have a limit.

Using the Screenshot Image takes the current map view of your location to be used for Swept Paths.
You can also choose to use a PBS Turning Template or a Blank page in the drop down below.
If you have the Nearmaps layer selected you can use the Select Area option which lets you refine your image selection. You can resize the rectangle and move it to where you want. (Google Maps does not provide an API for this functionality).
